
Press brake tooling styles decide whether a punch or die will fit your machine. Before you look at angles or profiles, ask a simple question: will the tool fit the clamping system?
A punch can have the right angle for a part but still be unsuitable if its tang does not match the upper clamp. The same applies to the lower die: its base must fit the die holder or support system.
This guide compares three commonly discussed styles: American, European and Wila/Trumpf. It also shows you what to measure before you request a quote.
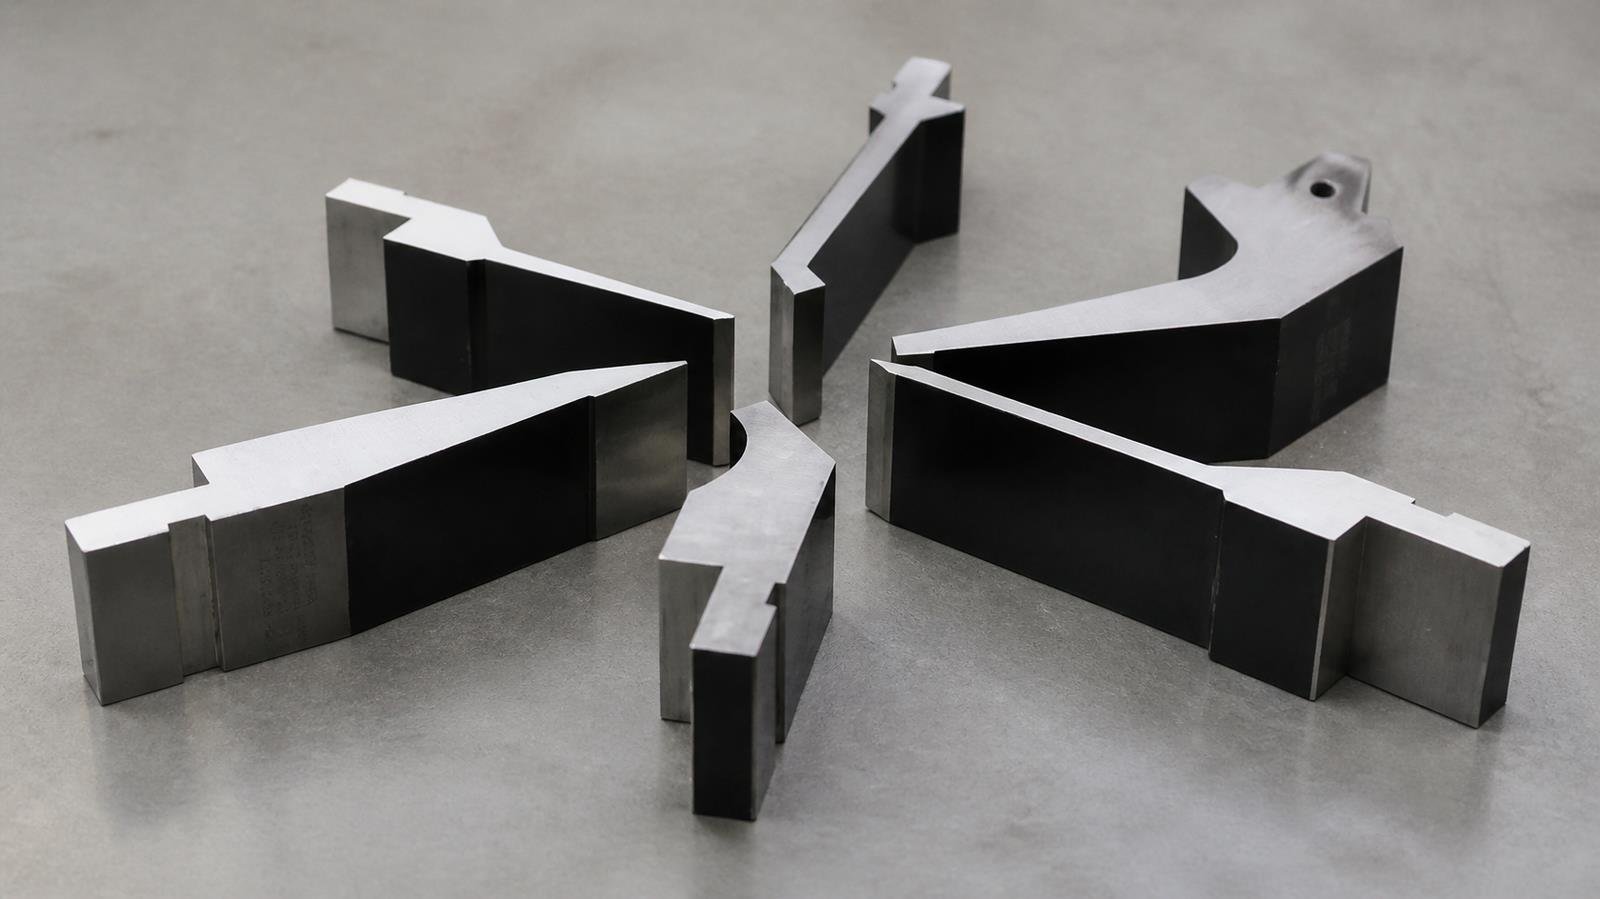
Press Brake Tooling Styles at a Glance
| Feature | American style | European / Promecam style | Wila/Trumpf style |
|---|---|---|---|
| Common identification clue | Some American precision punches have a 0.500 in (12.7 mm) tang | A common European precision punch has a 13 mm tang with a groove on one side | A common Wila/Trumpf-style punch has a 20 mm tang with grooves on the front and back |
| Common units in product information | Often inches | Often millimeters | Often millimeters |
| Clamping | Depends on the holder; manual and other systems exist | Depends on the holder; manual and powered systems exist | Depends on the holder; manual and powered systems exist |
| What to verify | Complete tang profile, holder and die base | Tang groove, shoulder and holder geometry | Tang grooves, retention features and holder geometry |
Important: These dimensions are starting points, not universal tolerances or proof of interchangeability. Measure the complete profile and compare it with the supplier’s drawing and your actual clamp. For reference profiles, see Mate’s guide to identifying press brake tooling styles.
In addition, the dimensions above describe upper punch tangs only. They do not identify the lower die interface.
What Is American Style Press Brake Tooling?
American-style tooling is widely used in North America. It covers more than one tool and holder configuration. One common American precision punch has a 0.500 in (12.7 mm) wide tang.
Some American-style setups use manually tightened clamp plates. However, precision tooling and other retention systems are also available. Accuracy, load rating and setup time depend on the specific tooling and clamp, not on the label “American.”
American-style tooling is often a practical choice when your machine already has a compatible holder. It also makes sense when you need to match an existing tooling inventory.
Before ordering: Check the tang profile, overall tool height, retention features and lower die interface. Never assume that every American-style tool fits every American-style holder.
What Is European or Promecam Style Tooling?
European-style tooling, often called Promecam style, is common in many sheet metal shops. A typical European precision punch has a 13 mm wide tang with a groove on one side.
This style comes in many punch profiles, die designs and lengths. Depending on the machine, the holder may use manual or powered clamping.
The terms “European” and “Promecam” help when you discuss tooling families. Still, a name alone does not confirm a fit. Groove geometry, shoulder position, tool height and clamp configuration all matter.
Is Amada tooling the same as European tooling?
Not always. Amada offers several tooling and holder configurations, including Euro Style and Amada Fixed Height (AFH) tooling. Some holders accept more than one tooling type.
For an Amada machine, send the machine model, the holder model and a drawing or measurements of the existing tool. Don’t order on the machine brand alone.
What Is New Standard or Wila/Trumpf Style Tooling?
“New Standard” is a term people often use for modern press brake tooling systems. Wila/Trumpf-style tooling is a common category in this group. Even so, check the exact designation and compatibility with the tooling and clamp manufacturers.
One common Wila/Trumpf-style punch has a 20 mm wide tang with grooves on both the front and back. Depending on the tool and holder, a button, pin or other retention feature holds the punch during installation.
Some of these systems offer powered clamping and fast tool changes. However, a safety button alone does not replace the clamp. Automatic seating or alignment also depends on the specific equipment.
Before you buy, compare the punch tang, retention mechanism and lower die interface with the holder manufacturer’s specifications.
How to Tell Press Brake Tooling Styles Apart
To tell press brake tooling styles apart, start with the mounting interface, not the punch tip. A straight, gooseneck or acute punch can come with any of these tang styles.

Use these clues to narrow down the options:
- Measure the punch tang width. A reading near 0.500 in, 13 mm or 20 mm may point to a common family.
- Inspect both sides of the tang. Record the number, location and shape of the grooves.
- Look at the shoulders and contact surfaces. Note any bevels, steps or offsets.
- Identify retention features. Photograph buttons, pins, safety grooves and similar features.
- Check the clamp separately. Record its manufacturer and model if you can see them.
- Inspect the lower die and holder. Confirm their interface on its own.
A 12.7 mm American tang and a 13 mm European tang differ by only 0.3 mm. As a result, a rough measurement or a photo can easily lead to the wrong conclusion. Use a caliper and compare the full profile with an engineering drawing.
How to Measure Press Brake Tooling Before Ordering
First, follow your workplace’s machine isolation and tool-handling procedures. If you cannot reach the tooling safely, ask a qualified operator or maintenance technician to help.
Step 1: Record the machine and clamp details
Write down the press brake manufacturer, model and year if available. Then record the brand and model of the upper clamp and lower holder.
The machine model is useful, but someone may have replaced or upgraded the clamp. The installed holder matters more than the machine name.
Step 2: Measure the upper punch tang
Next, use a suitable caliper to record:
- Tang width at the contact surfaces
- Tang height
- Groove position, width and depth
- Shoulder or bevel dimensions
- Overall punch height
- Location and size of any button, pin or safety feature

Mark each measurement point on a sketch or on the supplier’s drawing. If you cannot measure a dimension accurately, label it as approximate instead of guessing.
Step 3: Check the lower die
Then note how the die is held, and measure the features that engage with the holder. Depending on the design, these may include:
- Base width and height
- Slot, shoulder or rail dimensions
- Overall die height
- Die length and segments
- V-opening and die profile
Don’t assume that the lower die uses the same interface as the upper punch.
Step 4: Document the bending application
Finally, describe the job. A matching tang only shows that the tool will mount. The supplier also needs to know whether the tool can make your part.
Provide:
- Material grade and thickness
- Bend length and required angle
- Part drawing, flange dimensions and inside radius
- Machine capacity and tooling load limits
- Required tool length or segment layout
- Any clearance, marking or surface-finish requirements
Ask the supplier to confirm the complete configuration and load limits before you place the order.
Can Different Press Brake Tooling Styles Be Mixed?
Some press brake tooling styles can work together with a suitable adapter, replacement holder or clamping system. However, never assume they are compatible or force them together.
Before you consider an adapter, confirm:
- Both interfaces and the adapter’s approved use
- Tool and machine load ratings
- Changes to tool height, working height and clearance
- Punch-to-die alignment and setup requirements
- Retention and operating instructions from the equipment supplier
An adapter changes the tooling stack. As a result, it may reduce the available capacity or working space. Ask the supplier to review the complete setup for your application.
What Else to Check Besides Tooling Style
Punch and die profile
The punch angle, nose radius and body shape affect the bend and the clearance around existing flanges. For example, a gooseneck punch can clear the return flange on some box-shaped parts. Check the actual part geometry first.
Tool length and segments
Choose a tool length and segment layout that suit both the machine and the part. If you combine several segments, confirm their height, profile and alignment with the supplier.
Material, hardness and tolerances
Ask for the tool material, heat treatment, hardness and dimensional tolerances for the quoted tool. These values vary by product and application, so ask the supplier to state them on the drawing or quotation.
Load capacity
Check the machine, punch, die, holder and any adapter against the expected load. The weakest component, or the way the load is spread, can limit the allowable load.
V-opening and bending method
The correct V-opening depends on several factors. These include material thickness and grade, bend method, inside radius and part geometry. A rule of thumb can start the discussion, but it does not replace a calculation.
In every case, verify the setup with the tooling manufacturer’s bending guidance and the machine’s operating instructions.
Information to Send With Your Quote Request
A clear request helps the supplier confirm which press brake tooling styles your machine uses. It also speeds up the quotation. Include as much of the following as you have:
- Press brake manufacturer, model and year
- Upper clamp and lower die holder manufacturer and model
- Existing punch and die drawings or part numbers
- Caliper measurements of the punch tang and lower die interface
- Front, side and end-view photos, with measurement points marked
- Material grade, thickness and bend length
- Part drawing, bend angle, flange dimensions and inside radius
- Required tool length, segments and quantity
- Load and capacity information
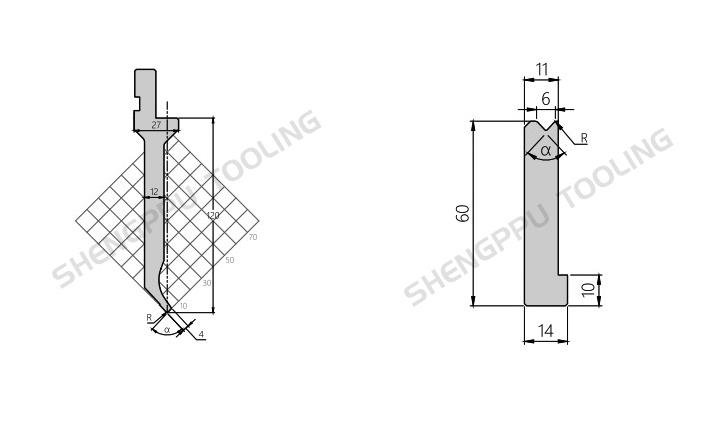
A photo of the finished part helps explain the job. However, it does not replace interface measurements when you need to confirm compatibility.
Frequently Asked Questions
Can different press brake tooling styles be used on the same press brake?
Sometimes. It works if the machine has a compatible holder, a suitable adapter or a replacement clamping system. Check the punch and die interfaces, alignment, space and load limits for the complete setup.
Can I identify the tooling from the press brake brand and model?
The brand and model are a starting point, but they don’t prove which holder is installed. Machines ship in different factory configurations, and some get upgrades later. So check the installed clamp and measure the existing tools.
Are 12.7 mm and 13 mm punch tangs interchangeable?
Don’t assume they are. Width is only one part of the interface, and a rough measurement can miss a 0.3 mm difference. The groove, shoulder, retention and holder dimensions must also match.
Can an older press brake be upgraded to a powered clamping system?
Some machines can. It depends on their construction and the clamping systems available. Ask the equipment supplier to assess the mounting interface, working height, controls, load limits and installation needs.
Why do I need to specify the punch profile if the tang already fits?
The tang decides how the punch mounts. The working profile decides whether the tool can make the bend without hitting the part. Your part drawing and bending sequence determine the right choice.
What information helps most if I don’t have a tooling drawing?
Start with the machine and holder details, clear photos from several angles and caliper measurements of the interfaces. Add the part requirements. With these, a supplier can tell you what else it needs before confirming compatibility.
Confirm the Interface Before You Order
The most reliable way to choose among press brake tooling styles is simple. Identify the installed holder, measure the complete punch and die interfaces, and check the application.
Not sure which style you have? Send us a tooling drawing, clear photos of the tool, or a drawing or photo of your part. If you don’t have an accurate drawing, you can send us a sample. We confirm a preliminary drawing with you before the deposit and a production drawing before machining.
WhatsApp: +86 15155556086 · Email: leah@sinobend.com · View our press brake tooling

Flange Hitting the Punch? How to Stop Press Brake Punch Collision on Odd-Shaped Parts
Return flange or odd profile hitting the punch? See why press brake punch collision happens and how a small[…]
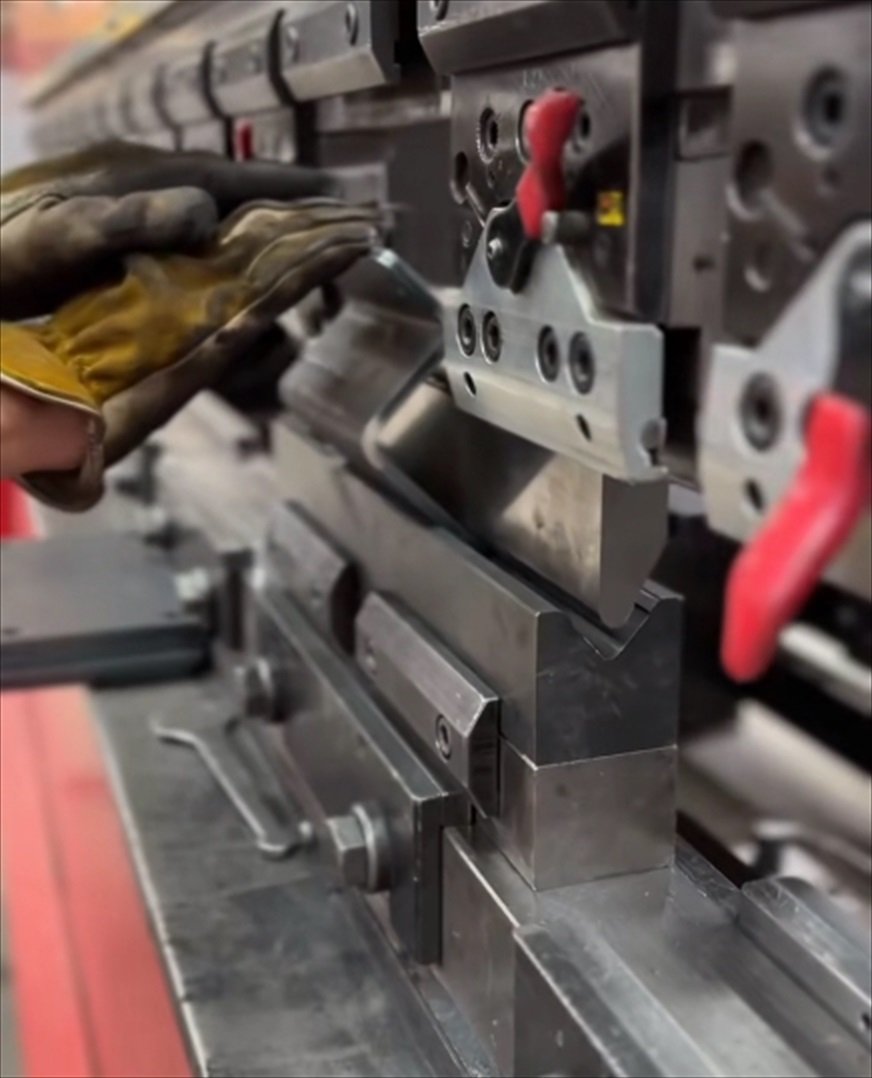
Press Brake Punch Guide: How to Choose a Shortened Straight Punch
Not Sure Which Press Brake Punch to Choose? Press Brake Punch Guide: How to Choose a Shortened Straight Punch[…]
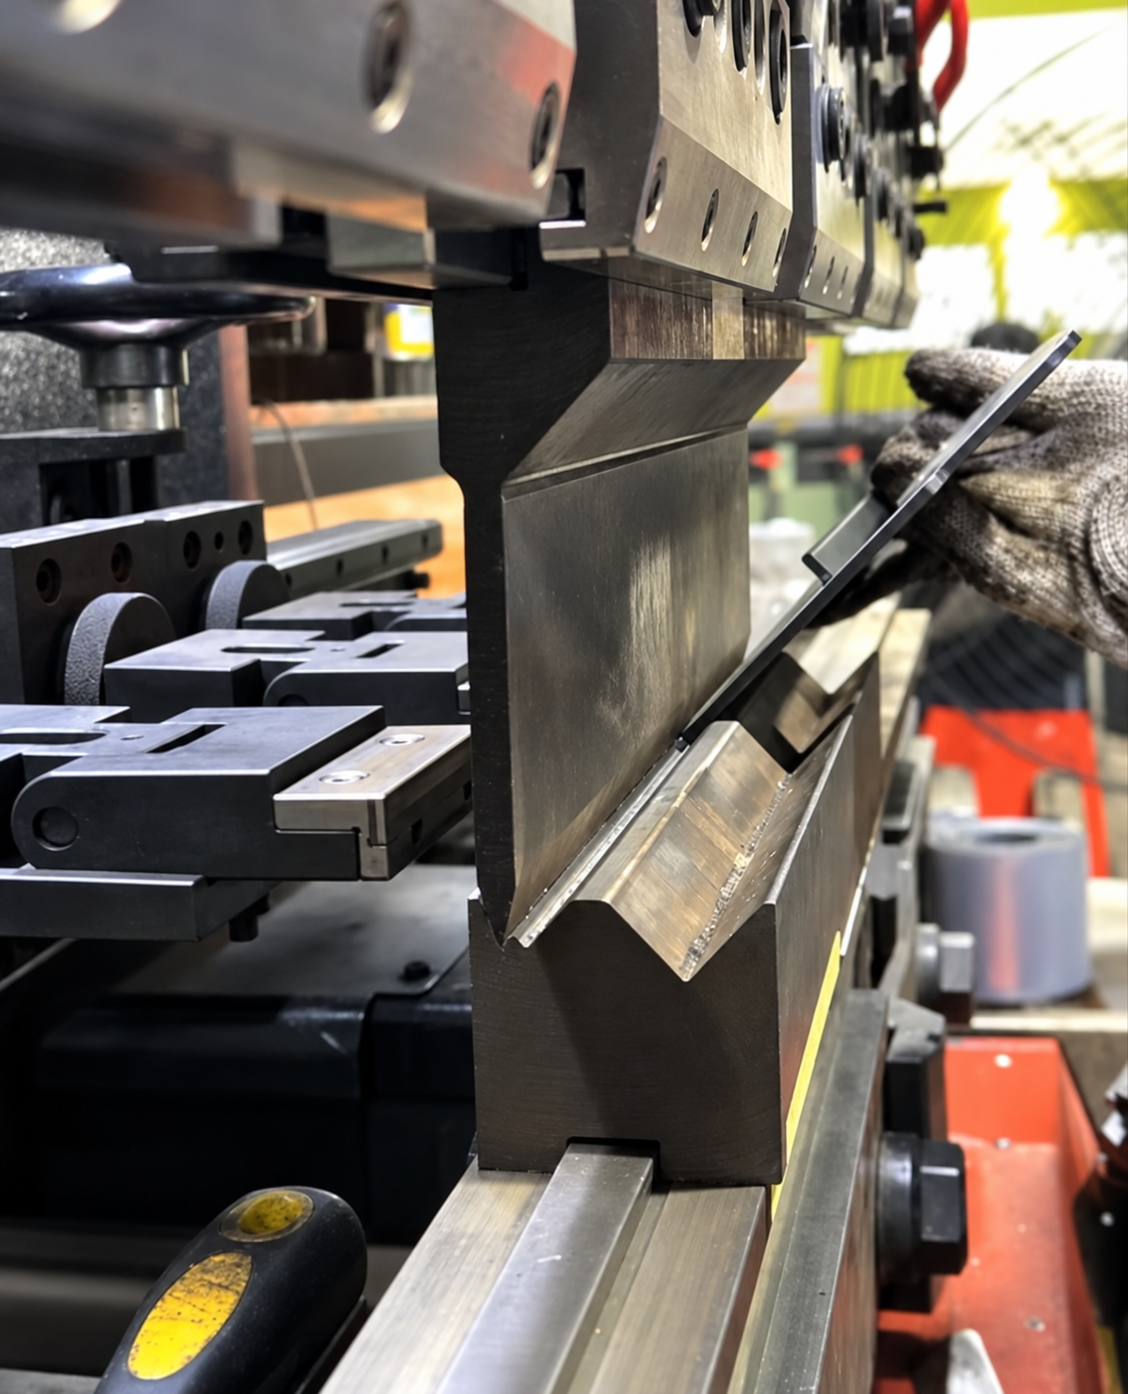
28° Press Brake Punch & 2V Lower Die
How to Match a 28° Acute-Angle Press Brake Punch with a 2V Lower Die? 28° Acute-Angle Press Brake Punch[…]
No responses yet